Pre-Move Deep-Clean Checklist: Leave a Fresh Home
Moving day is often a whirlwind—boxes everywhere, furniture squeezed through doorways, and a to-do list that feels endless. In the middle of all that chaos, it can be tempting to skip one of the final (and least glamorous) steps: cleaning your old place.
But leaving a fresh, tidy home behind has more benefits than you might think. If you’re selling, a sparkling-clean house can prevent last-minute disputes with buyers. If you’re renting, it could be the difference between getting your damage deposit back in full—or losing a big chunk of it. And if you’re simply the kind of person who likes to leave things better than you found them, a deep clean is a thoughtful final gesture for the next occupants.
The good news? With a clear plan, cleaning before you move doesn’t have to feel overwhelming. Here’s a practical pre-move deep-clean checklist tailored for Canadian households—whether you’re in a downtown Toronto condo, a Calgary townhouse, or a spacious prairie bungalow.
Step 1: Gather Your Supplies
Before you start scrubbing, make sure you have everything you’ll need:
All-purpose cleaner
Glass cleaner or vinegar/water solution
Disinfecting wipes or spray
Baking soda (for stubborn stains and odours)
Microfibre cloths and paper towels
A mop and bucket
A vacuum with attachments
Scrub brushes and sponges
Garbage bags
Rubber gloves
If you’re tight on time or energy, you can also hire a local cleaning service for a final move-out scrub. Many Canadians find this worth the investment—especially after days of packing and lifting.
Step 2: Work Room by Room
The easiest way to tackle a move-out clean is by focusing on one space at a time. Start with rooms that are already cleared of boxes and furniture.
Kitchen
The kitchen is often the most demanding area, but it’s also the most important. Buyers and landlords will notice if it hasn’t been taken care of.
Appliances:
Wipe the inside and outside of the fridge, including shelves and drawers.
Clean the oven and stovetop. Many Canadians swear by baking soda and vinegar paste for stubborn baked-on grease.
Wipe down the microwave, dishwasher, and small appliances if they’re staying.
Cabinets and Drawers: Empty, vacuum crumbs, and wipe inside and out.
Counters and Sink: Scrub with disinfectant, polish fixtures, and check for food stains or water spots.
Floors: Sweep and mop thoroughly, paying attention to corners where crumbs tend to hide.
Bathroom(s)
Bathrooms are another high-priority area. A sparkling bathroom leaves a strong impression.
Scrub the toilet, sink, and shower/tub.
Wipe mirrors, fixtures, and countertops.
Wash tiles or walls to remove soap scum and mildew.
Empty and clean cabinets.
Sweep and mop floors.
Living Room & Bedrooms
These rooms may seem straightforward, but details matter.
Dust light fixtures, ceiling fans, and baseboards.
Clean windows, including sills and tracks.
Wipe down walls to remove scuffs. Magic Erasers are especially handy.
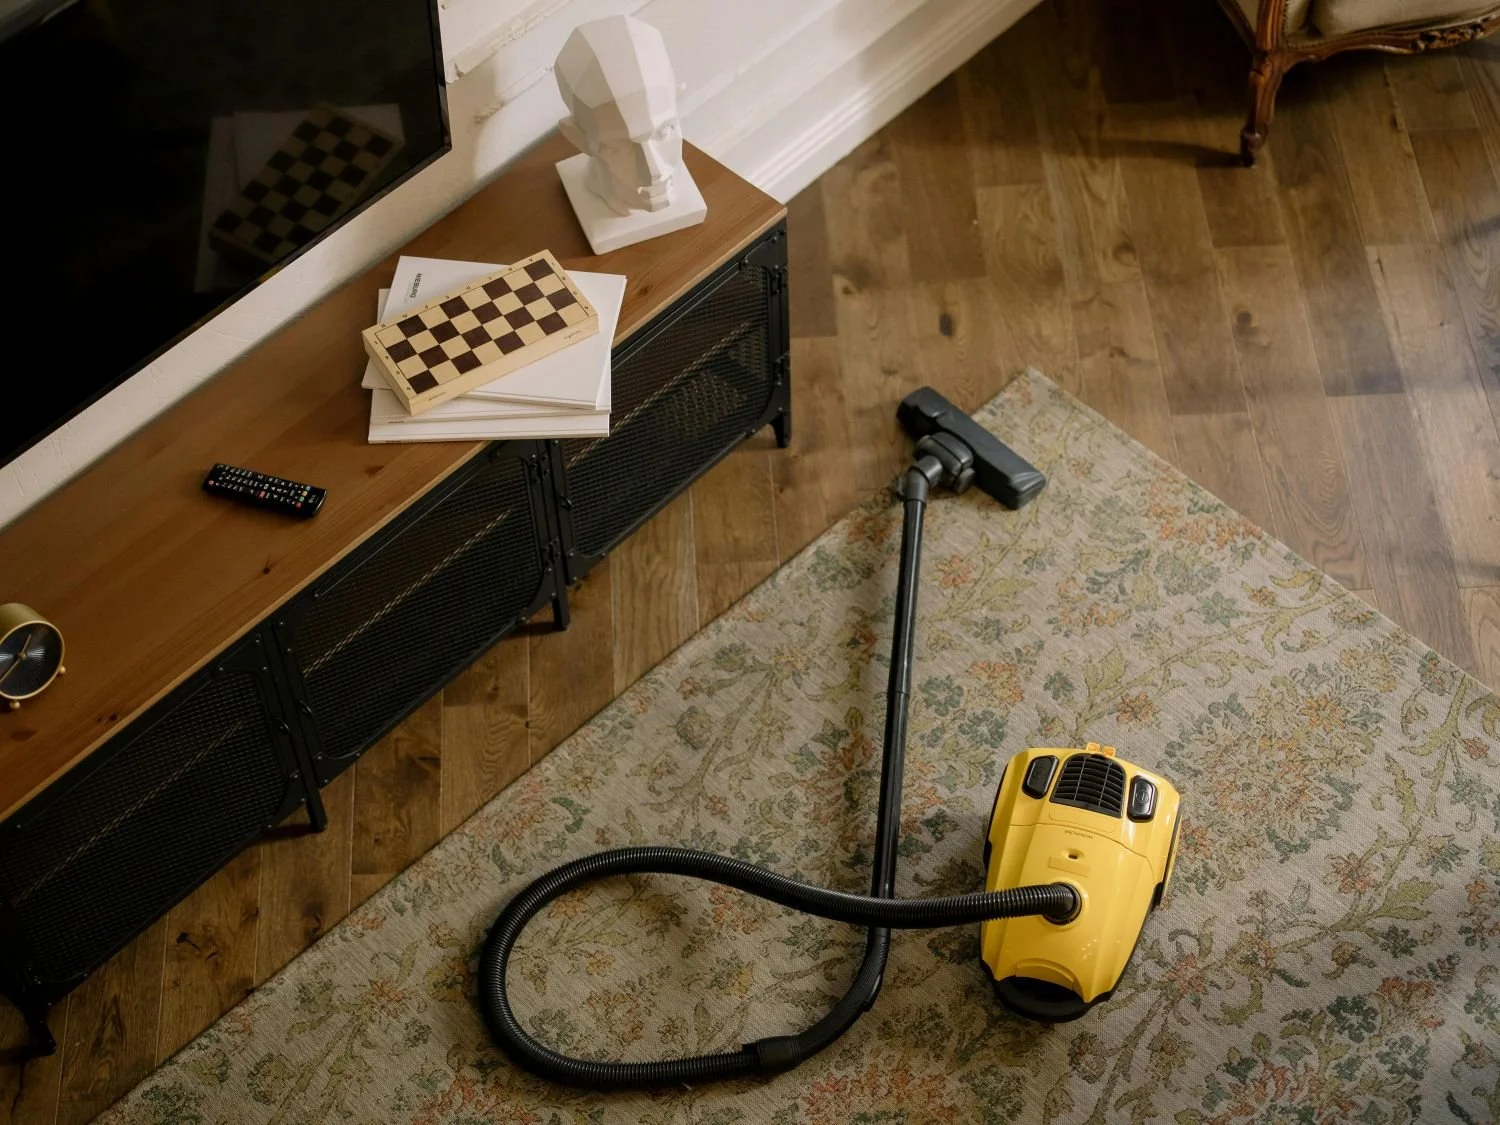
Vacuum carpets (consider steam-cleaning if stains are obvious).
Sweep and mop hardwood, tile, or laminate floors.
Don’t forget closets—vacuum or wipe shelves.
Entryway & Hallways
These high-traffic zones need a little extra attention.
Wipe down doors, handles, and switch plates.
Sweep and mop floors.
Check for cobwebs in corners or ceilings.
Step 3: Don’t Miss the Easy-to-Forget Spots
When cleaning during a move, it’s easy to overlook small details that add up to a fresh finish. Be sure to hit:
Light switches and outlet covers
Window blinds or curtains
Behind appliances and radiators
The top of cupboards and shelves
Baseboards along every wall
Door frames and handles
These areas might not jump out at first glance, but new occupants will notice if they’re grimy.
Step 4: Handle Floors and Carpets
If you’ve lived in your home for a while, floors can show signs of wear. A final deep clean can make a huge difference.
Carpets: Vacuum slowly in multiple directions to lift dirt. If you’re renting, check your lease—many landlords require professional carpet cleaning before move-out.
Hardwood and Laminate: Sweep thoroughly, then mop with a product recommended for your flooring type. Avoid excess water on hardwood to prevent warping.
Tile: Mop and spot-clean grout lines if stained.
Step 5: Freshen the Air
No one wants to walk into a home that smells like dust, pets, or last week’s cooking. To leave your home fresh:
Open windows for airflow while you clean.
Sprinkle baking soda on carpets before vacuuming.
Wipe surfaces with mild cleaners that leave a light, pleasant scent.
Empty all garbage and recycling bins.
A neutral, clean scent goes a long way in making the space feel welcoming.
Step 6: Outdoor Spaces (If Applicable)
If you’re moving from a house, don’t forget to tidy up outside.
Sweep porches, balconies, and decks.
Clear leaves or debris from walkways.
Mow the lawn one last time if it’s summer.
Shake out or clean outdoor mats.
Leaving outdoor spaces neat sets the tone before anyone even walks inside.
Step 7: Final Touches Before Locking Up
Once you’ve completed the major tasks, do a quick walk-through of every room. Ask yourself: if I were moving into this space tomorrow, would I feel good about it?
Patch small nail holes with filler.
Replace burnt-out light bulbs.
Double-check cabinets and drawers for forgotten items.
Leave any appliance manuals or extra keys for the new occupants.
These finishing touches show thoughtfulness and help you leave the space on a positive note.
Across Canada, moving season often peaks in summer. With so many moves happening at once, the last thing anyone wants is to walk into a messy, sticky, or dusty home after a stressful day.
For renters, a deep clean often determines how much of your damage deposit you’ll get back. For homeowners, it can protect you from post-sale complaints or extra cleaning costs requested by the buyer. But beyond the financial side, many Canadians simply feel it’s the right thing to do—handing over a clean space makes the transition smoother for everyone.
A pre-move deep clean isn’t just about scrubbing floors and shining windows. It’s about leaving your home on a positive note, ensuring a smooth transition for yourself, the new occupants, and even your landlord or buyers.
By tackling one room at a time, hitting easy-to-miss spots, and freshening up the air, you can walk out the door with confidence—knowing you’ve done your part.
Moving is stressful enough, but with this checklist, you’ll avoid last-minute panic, earn goodwill (and maybe your full deposit back), and leave a fresh, welcoming space for whoever steps in next.
After all, Canadians know that a little kindness goes a long way—even in the form of a spotless sink or freshly vacuumed carpet.